
Whether you’re planning a kitchen renovation on your own or with the help of professionals, you must consider a plan of action before you start. A successful kitchen renovation begins with a well-thought-out blueprint, so everything falls into place, giving you the desired outcome.
From budgeting to functionality, everything must be in place to avoid any hiccups in your kitchen remodeling project.
When renovating a kitchen, the first thing that comes to mind is the desired theme and layout. You don’t want an aesthetically-pleasing kitchen that can’t function properly, though. The underpinning of every kitchen is important, no matter what theme you want.
“If you can organize your kitchen, you can organize your life.” – Louis Parrish
Let’s take a step-by-step look at what you need to do for a successful kitchen renovation.
Table of Contents
1. Budgeting
Before you start to work on home improvement, it is imperative that you have a budget in mind. This will help you avoid overspending and keep your peace of mind throughout the renovation project.
Budgeting will help you decide what to spend at every step of your kitchen renovation project. For example, you may want to spend less on paint and flooring, and spend more on appliances.
2. Design Electrical Wiring and Plumbing
This is the most crucial aspect of any kitchen renovation. This is where you need to focus once you’ve decided on the kitchen layout. Professional help is essential as this forms the base of water outlets and appliances in the kitchen. After all, you don’t want your appliances damaged due to an electrical fault.
Make sure that the electrical wiring is insulated to protect it from moisture. Most importantly, do not forget to child-proof your electrical outlets. Also, take great care, not to overload circuits.
3. Paint and Flooring
Once the electrical wiring and plumbing are out of the way, you can proceed to paint the kitchen and install matching or contrasting flooring. This is where the theme of your kitchen starts to come together. While some may opt for a rustic look for their kitchen, others may want a modern kitchen.
Make sure the walls are clean before you paint them. It is recommended to apply a coat of primer before applying the paint on the walls. Oil-based paint is preferred for kitchen walls as it is easy to clean.
It is up to a personal preference for the type of flooring installed in the kitchen. But, it is recommended that kitchen flooring be non-slip. Vinyl flooring is non-slip and doesn’t damage by moisture.
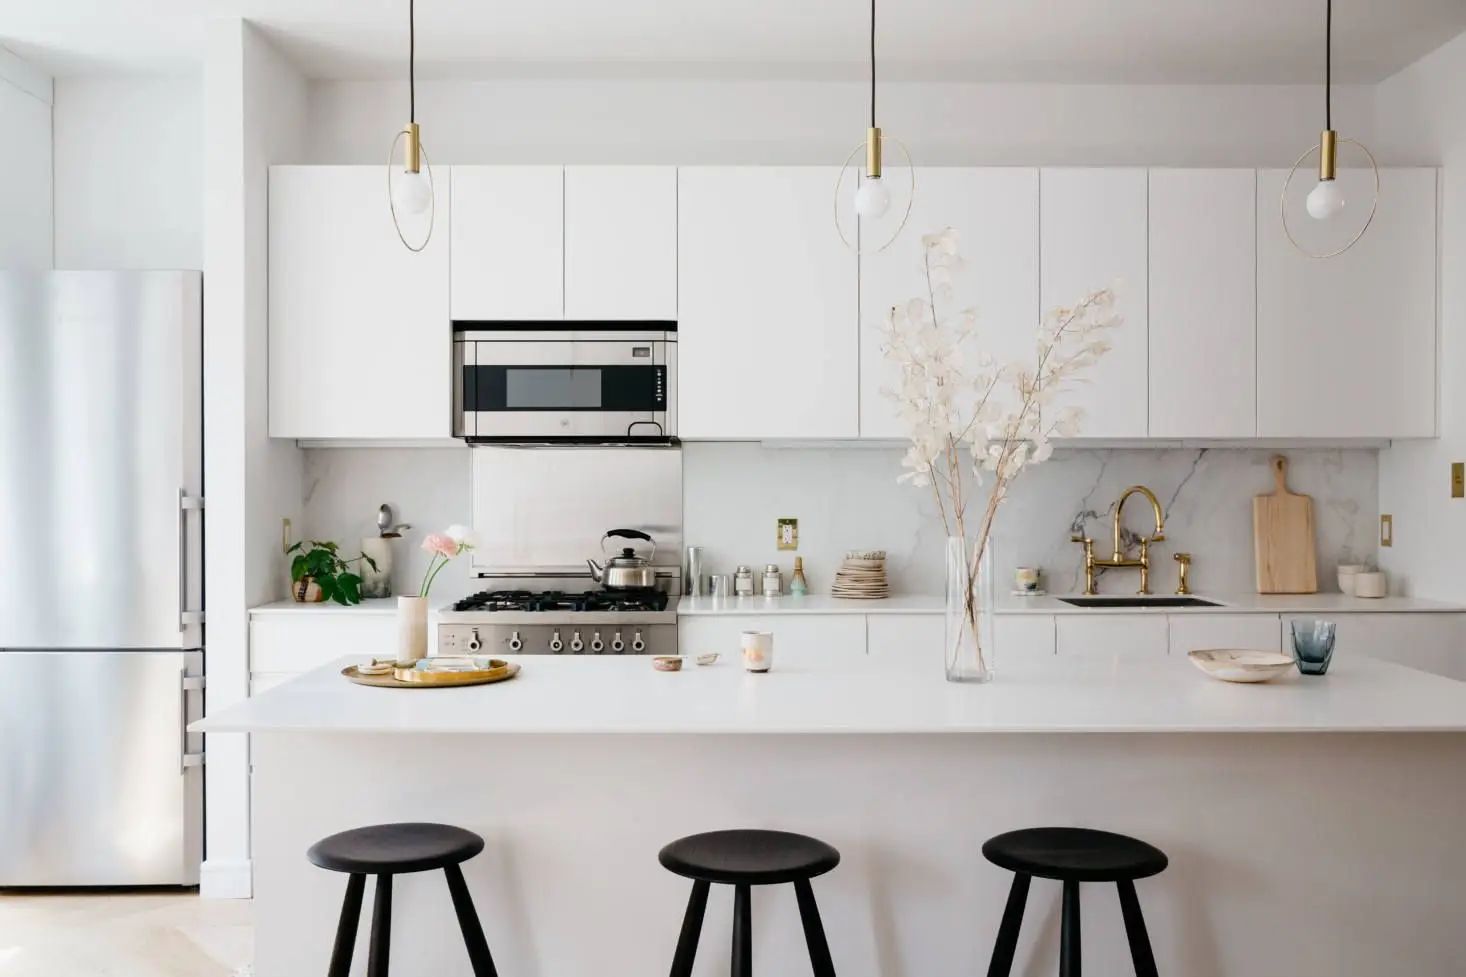
4. Kitchen Cabinets, Island, and Countertops
At this point, the stage is set for the woodwork and countertops. The layout in the kitchen renovation blueprint starts to come alive. The kitchen cabinets and the countertops take their place along the kitchen walls, while the kitchen island stands as its centerpiece.
Make sure that the cabinets are installed correctly. It can be very frustrating to find out that some cabinet doors collide when you may need them open simultaneously.
Lastly, the kitchen sink goes into place. Again, make sure that the plumbing is secure to avoid any leakage.
5. Install the Main Appliances
This is the most exciting and possibly the most expensive part of any kitchen renovation. The stove takes its place under the hood, hooked up to the gas outlet, or the electrical outlet if you choose an electric stove.
The fridge stands tall along one of the walls of the kitchen. Ensure the plumbing is secure, if your fridge comes with a water dispenser or an ice maker. It is recommended to secure the fridge by tethering it to the wall.
Finally, the dishwasher fits into place, preferably next to the sink. Again, ensure the plumbing and electrical wiring is secure to avoid any leakage or short circuit.
6. Install the Backsplash
It’s time to install tile backsplash. The backsplash runs along the walls adjacent to the stove. It runs between the upper and lower cabinets, giving your cabinetry a cohesive look.
You may want a contrasting look for the backsplash, making the space look bigger. If your cabinetry is light, a dark backsplash will give it more depth. You can add more color to the backsplash by choosing a grout that matches the cabinetry.
Once everything is in place, use silicone along the walls and edges. This will ensure that tiles stay in place and prevent debris from falling into the gaps.
Now your kitchen renovation is complete.
Final Thought
You can whip up delicious meals, enjoy precious moments and create lasting memories for years to come in your newly renovated kitchen.
“The kitchen is the heart of every home, for the most part. It evokes memories of your family history.” – Debi Mazar
All elements from budgeting, the planning process, hiring a specialist contractor, and more must be considered before beginning a renovation project.
Image Source